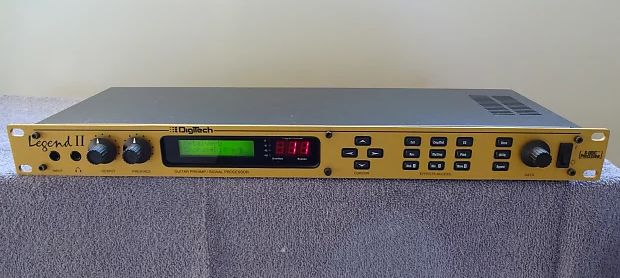
Setting the MIDI Channel
Press the "UTILITY" button once. The display reads:
    1MIDI  2FOOT
    3Contrast 4

Press Function Key 1 once. The display reads:
    1MIDI Channel: 1  (cursor is under current Midi Channel 1)
    2Send Prg: Off

Use "UP/DOWN" cursor keus, function key 1, or the data wheel to select the channel on which you
want the Legend II to receive MIDI Data.

To exit, press the "UTILITY" button once.

Continuous Controller Links
Up to 10 CCs can be linked to any parameter in the Legend II. CCs are active only when the Program
to which they are linked is active

To show you how it's done, let's link local CC #1 to a parameter item.

1. From Performwance mode, scrool to the parameter you want to link to a CC.

2. Enter the MIDI setup menu by pressin the "UTILITY" key once and press Function key 1. The display
   reads:
        1MIDI Channel:1
        2Send Prg: Off

3. Using the "RIGHT" cursor key, scroll until the display reads:
        1CC Assignments
        2Disp CC's:No

4. Press Function Key 1 once, the display reads:
        1LocalCC Link:1   (parameter 1 is selected)
        2Assign

5. Use the "UP/DOWN" cursor keys, select the CC you want to assign to the parameter (1-10).

6. Press Function Key 2 once. The display reads:
        [Parameter Name]
        No Link

7. Using "UP/DOWN" cursor keys, select the MIDI CC# that will control the parameter

8. Press the "RIGHT" cursor key once. The display reads:
        Minimum CC Value
        [PARAM VALUE]

9. Use the "UP/DOWN" cursor keys to set the minimum parameter value when the CC pedal is at minimum.

10. Press the "RIGHT" cursor key once. The display reads:
        Maximum CC Value
        [PARAM VALUE]

11. Use the "UP/DOWN" cursor keys to set the maximum parameter value when the CC pedal is at maximum.

At this point, you have successfully linked local CC#1 to controla parameter.
