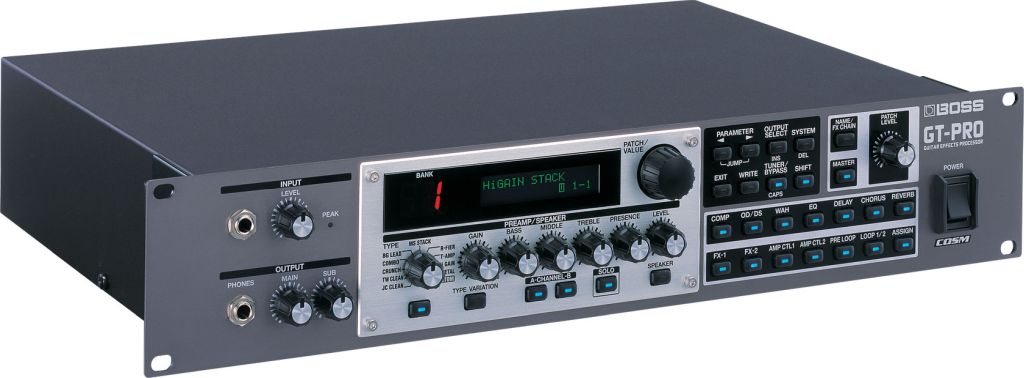
Boss - GT-PRO
Setting the Operation for an External MIDI
Device (CC#7, CC#80, CC#1 Function)

These settings are applied to the entire GT-PRO, controlling
the GT-PRO by means of Control Change messages from an
FC-200 or other external MIDI device connected to the GTPRO via MIDI.
The following describes the settings for CC#7, CC#80 and CC#1.

1. Press [SYSTEM].
2. Press PARAMETER arrows so that “CC#7 Func,” “CC#80 Func,” or
   “CC#1 Func” is displayed.
        SYS:CC#7 Func
        Assignable

3. Use the PATCH/VALUE dial to set how the Control Change messages
   are used.
4. Repeat Steps 2 and 3 as needed.
5. Press [EXIT] to return to the Play screen.

CC#7
Value Explanation Auto The pedal normally is used as a “foot volume” pedal. When Pedal Wah or Pedal Bend is switched on, the CC#7 then automatically functions as a “pedal wah” or “pedal bend” pedal. Assignable The pedal is used as the controller set in Assign for each patch. Foot Volume The pedal functions as a “foot volume” pedal. Patch Level The pedal is used as the patch level controller. Pedal Wah The pedal is used as a “pedal wah” pedal when Pedal Wah is switched on. Pedal Bend The pedal is used as a “pedal bend” pedal when Pedal Bend is switched on.CC#80
Value Explanation Assignable The pedal is used as the controller set in Assign for each patch. Preamp Ch A/B Switches between Preamp channel A and B. Solo On/Off Switches the Preamp SOLO on and off. FX-1 On/Off Switches the FX-1 on and off. Comp On/Off Switches the COMP on and off. Wah On/Off Switches the WAH on and off. Loop On/Off Switches the LOOP 1/2 on and off. OD/DS On/Off Switches the OVERDRIVE/DISTORTION on and off. Preamp On/Off Switches the PREAMP/SPEAKER on and off. EQ On/Off Switches the EQ on and off. FX-2 On/Off Switches the FX-2 on and off. Delay On/Off Switches the DELAY on and off. Chorus On/Off Switches the CHORUS on and off. Reverb On/Off Switches the REVERB on and off. Pre Loop On/Off Switches the PRE LOOP on and off. Amp Ctl1 On/Off Switches the AMP CTL 1 on and off. Amp Ctl2 On/Off Switches the AMP CTL 2 on and off. MANUAL On/Off Switches the Manual Mode (p. 85) on and off. TUNER On/Off Switches the TUNER/BYPASS on and off. Master BPM (TAP) Used for tap input of the Master BPM. Delay Time (TAP) Used for tap input of the delay time. MIDI Start/Stop Controls the Start/Stop of external MIDI devices (such as sequencers). MMC Play/Stop Controls the Play/Stop of external MIDI devices (such as hard disk recorders). Patch Level Inc1 Increases the patch volume level by 10 units. Patch Level Inc2 Increases the patch volume level by 20 units. Patch Level Dec1 Decreases the patch volume level by 10 units. Patch Level Dec2 Decreases the patch volume level by 20 units. Hold Dly Rec/Dub Switches Hold recording (dubbing) on and off when “Hold” (p. 32) is selected for the delay type. Hold Dly Stop When “Hold” is selected for the delay type, the performance is instantly stopped. Solo A&B On/Off Switches the preamp SOLO, for both channel A and B, on and off. * If one of the two channels is off, both will be turned on. Patch Num. Inc Switches to the next higher patch number in the same bank as the currently selected patch. Patch Num. Dec Switches to the next lower patch number in the same bank as the currently selected patch. Patch Bank Inc Switches to the next higher bank number. Patch Bank Dec Switches to the next lower bank number.CC#1
Value Explanation Assignable The pedal is used as the controller set in Assign for each patch. Foot Volume The pedal functions as a “foot volume” pedal. Patch Level The pedal is used as the patch level controller. Pedal Wah The pedal is used as a “pedal wah” pedal when Pedal Wah is switched on. Pedal Bend The pedal is used as a “pedal bend” pedal when Pedal Bend is switched on.Using Pedals to Control the Effects
1. Press [ASSIGN]. 2. Press PARAMETER Buttons to select one of the Assigns from Assign 1–12. 3. Press [ASSIGN] to set the selected Assign to “On.” Each time [ASSIGN] is pressed it alternately switches this on and off. “ASSIGN” flashes in the display when the Assign is switched off. * Be sure to set any Assign settings not being used to “Off.” 4. Press PARAMETER Buttons to display the following screens. (Example) With Assign 1 Quick ASSIGN1 ---:User Setting ASSIGN1 Target MST:Patch Level (Target parameter) ASSIGN1 Target Min: 0 (Target Range: Min) ASSIGN1 Target Max: 100 (Target Range: Min) ASSIGN1 Source MIDI CC#1 (Set the CC# here) ASSIGN1 Source Mode: Normal (Modes: Normal/Toggle) ASSIGN1 Source Act.Range Lo: 0 (Active Range Low) ASSIGN1 Source Act.Range Hi:127 (Active Range High)